For those who want to make a project with Arduino, knowing the various possibilities that this board offers can be quite inspiring.
As a low-cost electronic board, the Arduino allows the construction of complex and very particular electronic systems.
A positive point of this device is that it allows for simplified programming with an effective environment.
In this article, we have selected 5 amazing options for you to do an Arduino project efficiently. Check out!
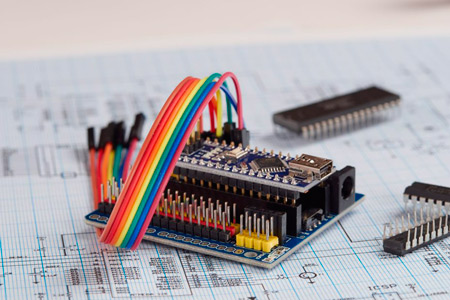
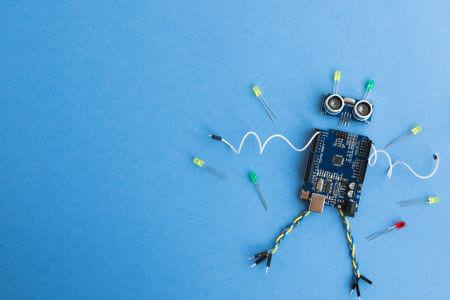
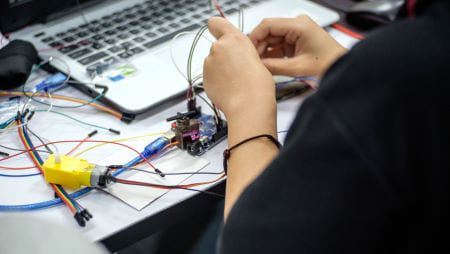
Arduino is a single-board, open-source electronics prototyping platform.
Its goal is to be an affordable, functional and easy-to-program device for students and amateur designers, as well as for professional projects.
Created in 2005, the Arduino board was developed by a group of 5 researchers: David Cuartielles, Tom Igoe, Massimo Banzi, Gianluca Martino and David Mellis.
By receiving the concept of free hardware, this electronic board allows anyone to assemble, modify, optimize and customize it.
All this starting from the same basic hardware.

The main component of Arduino is the Atmel micro-controller, as well as input and output circuits for voltage conditioning and easy connection to computers via USB.
Programmed via IDE (Integrated Development Environment), it uses a language based on C/C++.
Therefore, it does not require the use of extra equipment other than the USB cable.
The Arduino board is available under the Creative Commons Attribution Share-Alike license.
And because it has an open license, thousands of Arduino project files are completely available on the internet.
In this way, allowing programmers to use them fully or as a basis for the development of their own projects.
Arduino lcd module products have several sensors and components available for use in projects.
For this reason, the list of possibilities when making a project with this electronic board is quite extensive.
It is possible to automate the house, create objects or equipment, and even improve existing items.
Among other existing Arduino project options are:
The Arduino project for remote control allows individuals to automate numerous objects and equipment.
With a little soldering work, a 3D printed housing and some wires, you can assemble your own infrared remote.
It is important to understand that the Arduino module connection is individual for each button.
Furthermore, with the use of an infrared remote control in conjunction with a micro-controlled platform such as Arduino and an IR photo-receptor, it is possible in this project:

By assembling an IR remote control circuit with Arduino, it is possible to implement applications such as remote activation of devices and control of cameras and alarms.
The procedure is simple, connecting an AX-1838Hs IR receiver module to the device.
The Arduino's 5V is responsible for supplying the module's power.
The pulse output pin of the receiver must be connected to Arduino pin D11.
The connection of each LED color, which must have a 220 ohm resistor, is made on the respective pins, such as D05, D06 and D07, the cathode, beveled side of the LED, must be connected to the GND.
With addressable LED strips that use the same communication principle, you can create different effects.
A project with Arduino and LED strip consists of programming a specific sequence that turns lights on and off at certain intervals of time.
In some cases, it is possible to make the tape react to the sound using the Arduino board. To do this, you need to proceed as follows:
Initially, the project requires the use of some materials, such as a KY-038 sound sensor, an LED strip and an Arduino Uno.
To assemble the circuit, we are going to use the analog output of the sound sensor, connecting it to an analog input on the Arduino.
The activation of the LED strip is done using only a digital output.
To make the LED react to the sound, the analog output of the sound sensor must be used as input to the program.
The value obtained is defined as the brightness intensity of the ribbon. Thus, the LED stays on and increases the brightness according to the intensity of the music.
To work with this type of LED strip, it is necessary to add the Adafruit library.
It is worth mentioning that adjusting the sensitivity of the sound sensor is important to make the light dim when the sound is low, and increase when the sound is louder.
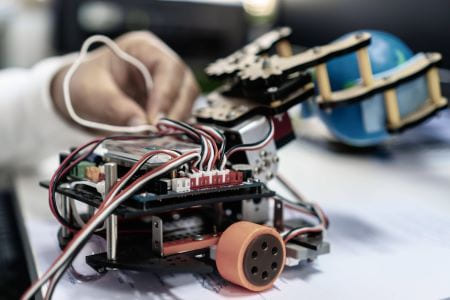
The robotic hand is an example of an Arduino project that has been well developed in recent years.
Even though it seems simple, this circuit can be quite sophisticated, simulating humanoid movements in different ways.
The mechanical structure of the animatronic hand has movement similar to that of a human hand.
The project controls the movement of 5 fingers, associated with a real hand equipped with a signal emitting system.
The movements of the human hand are captured and, through a wireless system, generate commands to drive the motors that control the robotic “fingers”.

mechanics;
Movement drive systems;
Electronic and audio systems;
the finishing.
For the project, it is necessary to have two isolated circuits, one for simulating movements and another for reproduction via servo motor.
Each servo motor controls a humanoid hand finger.
The simulation of movements must be done via the Flex Sensor attached to the control sleeve. The sending of the signal is performed through Arduino and Xbee devices.
The movement drive systems can be electromechanical, being motors and servomotors, as well as pneumatic or hydraulic.
With this, the effective movement of the joints is done through the pieces that are representing each finger.
In the circuit, electronic systems are responsible for the triggering logic, synchronizing the movements of each finger for a specific purpose, such as closing or opening the hand, for example.
The Arduino project for a remote control airplane involves both the electronic work and the assembly of the external part.
On the internet, there are several projects that stipulate which connections, cuts and installations are necessary for the success of the development.
Fortunately, the vast majority of them involve familiar devices and materials accessible to any hobbyist programmer.
The Arduino plane works by remote control. Wireless communication is done via radio transmitter and receiver with Arduino.
The plane's structure can be assembled with plastic or styrofoam, along with additional components that establish model airplanes.
It is important to emphasize that the motor with high supply current must be used together with a rechargeable ESC battery.
Infrared thermometer design allows for immediate temperature check.
For this, it is necessary to integrate a display into the project.
The temperature check is carried out through the MLX90615 sensor, strategically positioned next to a high-power laser for the sight.
thermometer can be developed through an Arduino Nano, since it is a more compact project.
The l2C communication allows the connection of different equipment on the same two base pins of the Arduino used, the A4 and A5.
In addition to checking the temperature of objects, the IR sensor used is also capable of showing the temperature of the environment.
Being a reduced project, the Arduino Nano, display and temperature sensor are integrated without their pin bars for connecting the jumpers.
However, this feature requires direct soldering of the wires.
The Arduino and other devices are powered by a 9V battery, connected to the battery adapter clip.
For these and other Arduino projects, you can count on programming kits that offer a professional graphical interface and practicality in development.
For those who want to get involved in the world of DIY and recreate programming projects with Arduino, it is important to know the technical aspects of electronic components.
In addition, starting with the basics, like many Arduino projects, can be a good alternative to raise your level of programming without giving up creativity.
Read more content like this and ask your questions on the lcd module company Proculus Tech blog!
