 English


Blog
How to make a display: Everything you need to know
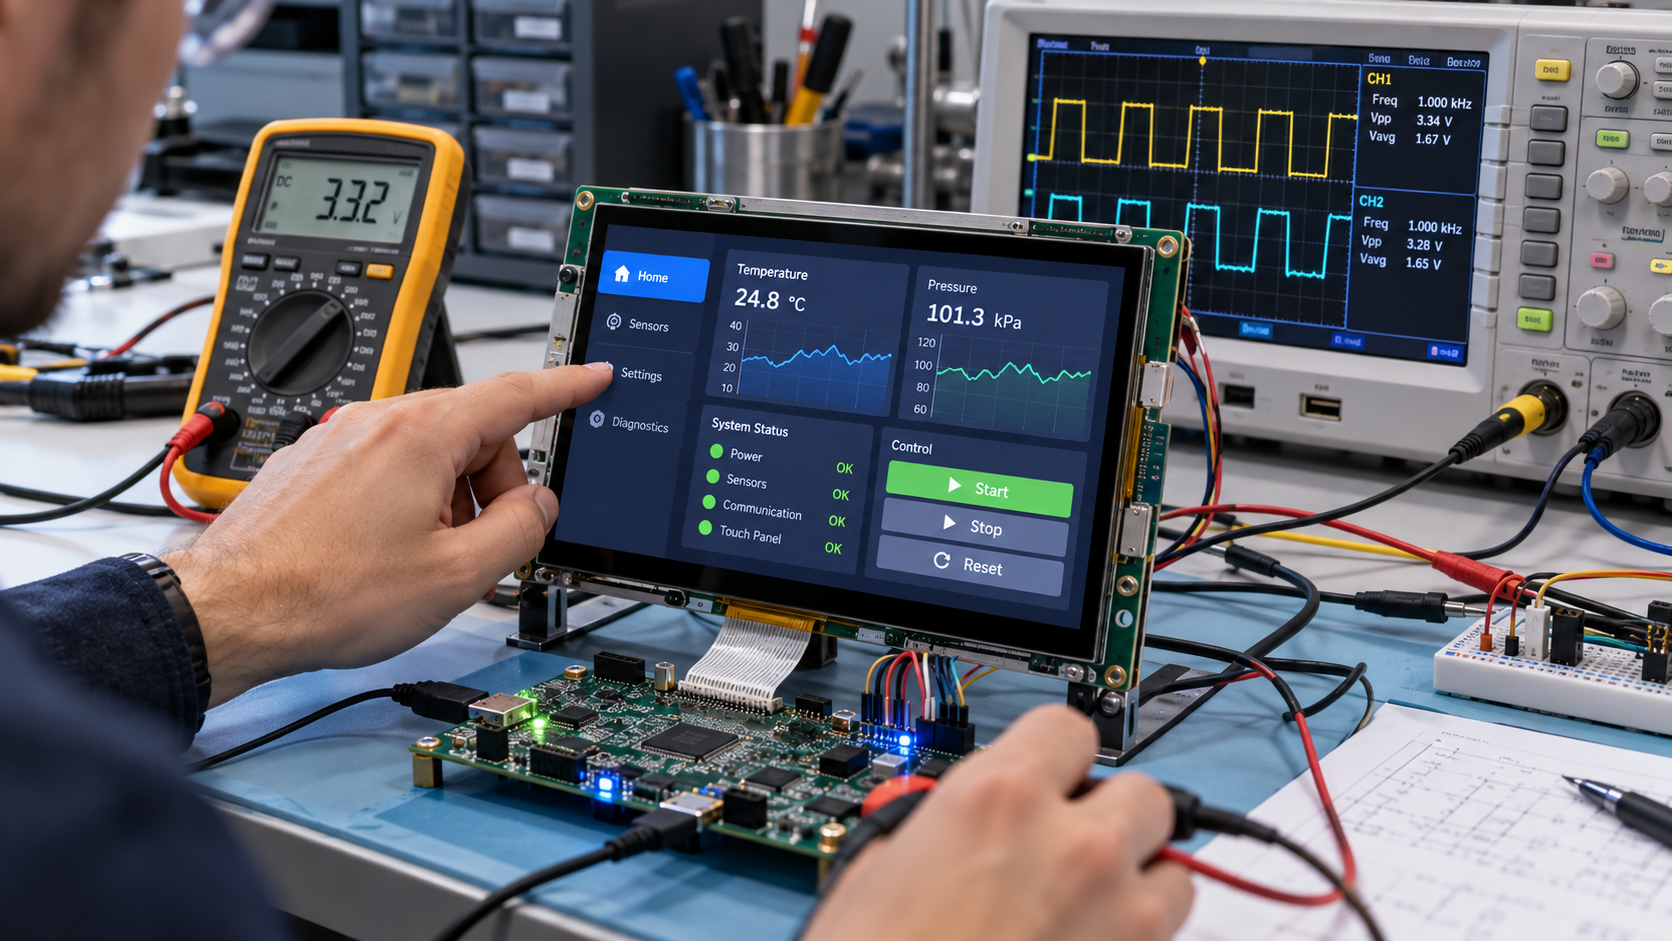 Creating a successful embedded project often begins with understanding how to make a display that’s both functional and intuitive.
Whether you’re building a control interface for industrial equipment or a user panel for a smart device, the display is where users interact with your technology.
In this comprehensive guide, we’ll walk you through the essential materials, step-by-step processes, and expert insights needed to build a high-quality display, from initial concept to final deployment. Keep reading!
How to make a display: Necessary materials
Creating a reliable and high-performing display system starts with selecting the right components. Each item plays a crucial role in ensuring smooth operation, visual clarity, and long-term durability. Here’s a breakdown of the core materials required:- Display Panel (TFT LCD, OLED, or e-paper): Choose based on your application’s demands for resolution, brightness, color depth, and viewing angles. For most embedded systems, a TFT LCD strikes a balance between cost, functionality, and ease of integration.
- Microcontroller or Processor: Select a controller compatible with your display and interface requirements. Popular options include STM32, ESP32, and Raspberry Pi. Consider processing power, available GPIOs, and memory capacity.
- Power Supply: Provide stable and regulated voltage (typically 3.3V or 5V). Power fluctuations can cause display flickering or complete failure. Include protection features like reverse polarity and over-voltage protection when possible.
- Communication Interface: Depending on your module, this could be UART (simple and ideal for Proculus displays), SPI (fast, low-pin count), I2C (multi-device), or HDMI (high-bandwidth multimedia). Match the protocol to your hardware and speed needs.
- Display Drivers & Firmware Libraries: These manage how your microcontroller communicates with the display. Reliable, well-documented drivers save countless hours during development.
- User Interface Design Tools: Software like UnicView Studio lets you design responsive, user-friendly graphical interfaces without deep programming expertise — ideal for speeding up HMI development.
- Wiring, Connectors & Mounting Accessories: Ensure proper cable management and secure physical assembly. A robust mechanical setup prevents disconnections and improves overall system reliability.
- Optional Peripherals: Depending on your application: capacitive/resistive touch panels, sensors, enclosures, Wi-Fi/Bluetooth modules, or audio components can be integrated.
How to make a display: Step by step
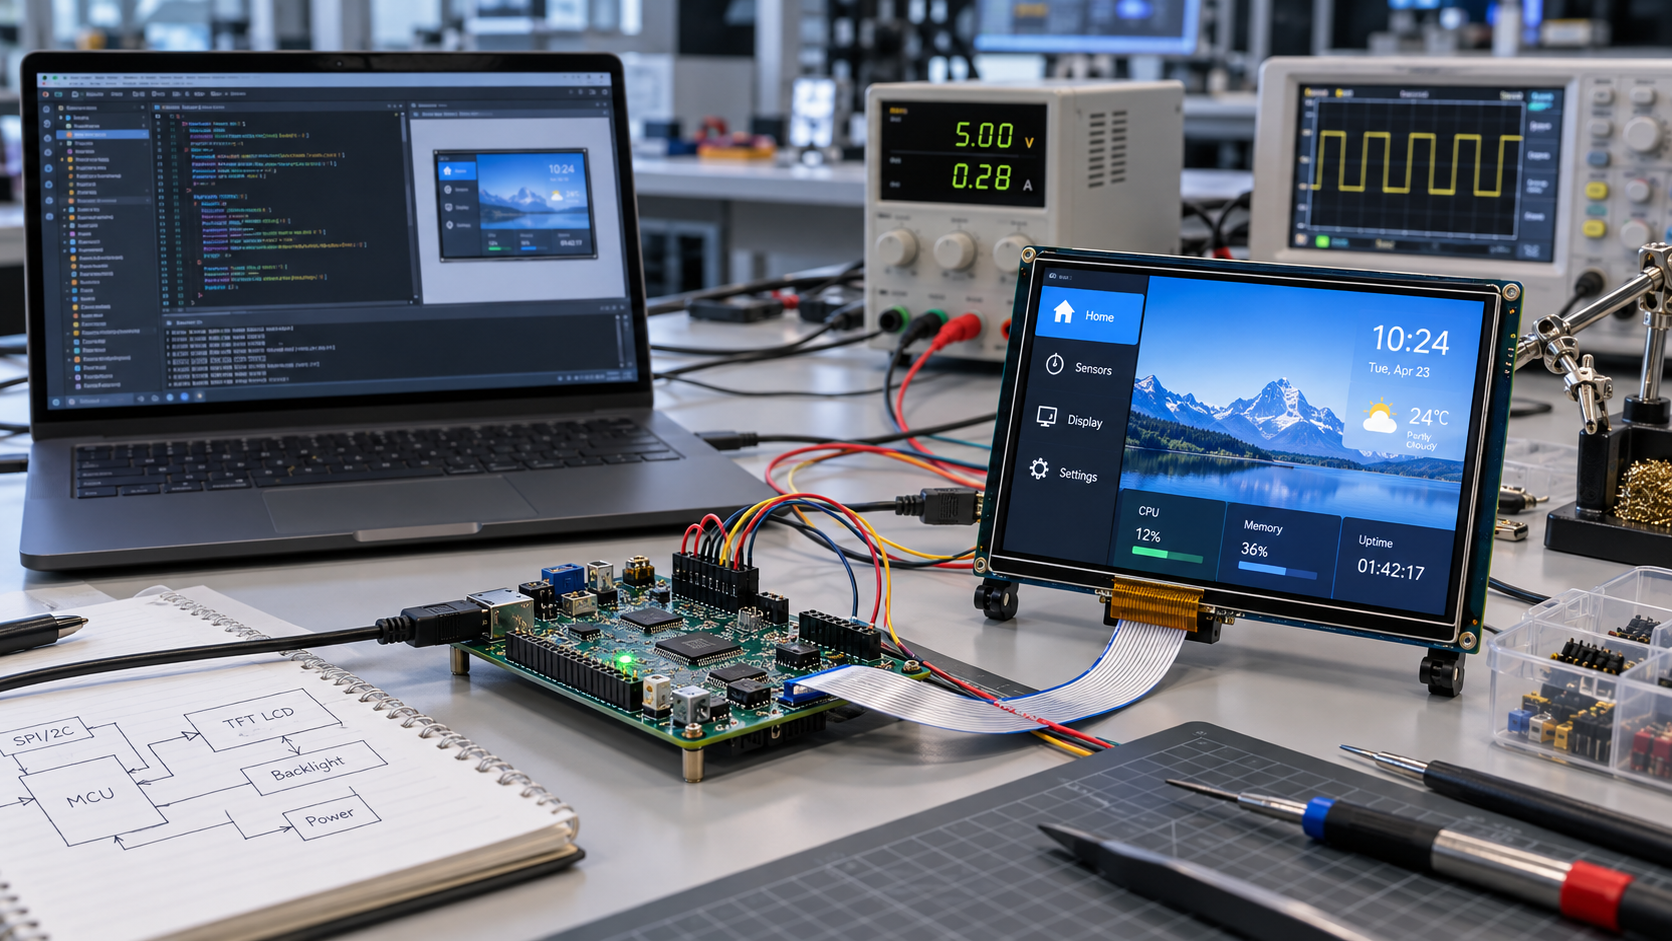 Creating a display is about delivering a seamless user experience through both hardware and UI design. Below is a clear, practical sequence that reflects modern embedded design best practices:
Define the purpose of the display
Start with clarity. What role will the display serve? A control panel in industrial equipment? A readout on a medical device? Each scenario demands different levels of responsiveness, brightness, resolution, and user input. Defining purpose early helps specify the required features, such as sunlight readability, capacitive touch, or multilingual support. This foundation ensures the rest of your design is aligned and efficient.Choose the right type of display
Not all displays are created equal. For embedded projects, UART TFT LCDs offer fast integration with minimal development overhead. If you need advanced features like video playback or multitasking, Android-based LCDs are a better fit. For high-resolution content or multimedia, HDMI-enabled modules provide plug-and-play versatility. Consider size, viewing angle, power consumption, and environmental durability to match your display to your application.Plan the layout
An effective interface isn’t just attractive—it works intuitively. Use a grid-based approach to position buttons, text, and visual indicators where users naturally expect them. Think about contrast, color coding, and font legibility. Design for touch input with adequate spacing to prevent mis-taps. With UnicView Studio, you can rapidly prototype layouts and iterate without deep programming, making UI design both accessible and precise.Test the display
Testing is where ideas meet reality. Connect your display to the host system and power supply, then begin functional checks. Verify that communication protocols are working (e.g., UART message exchange), ensure that graphics render correctly, and test responsiveness of any input elements. Environmental tests, such as vibration, temperature, or EMC, may be necessary for commercial or industrial applications. Debug early, often, and with a systematic checklist.Use and evaluate
Once your display is live in a target environment, observe how it performs under actual use. Is the interface intuitive? Does it update in real time? Are users making mistakes? Feedback from stakeholders, whether factory workers, customers, or QA engineers, can reveal gaps in design or usability. Iterate based on this feedback. In embedded systems, even small UX improvements can lead to big operational gains.What is a display for?
A display is the interface between machine logic and human intention. In embedded systems, displays serve three primary purposes:- Visualization of Information: From sensor data to process feedback, the display converts invisible system states into readable, real-time data the user can act on.
- User Interaction: Through touch, buttons, or other input methods, displays allow users to navigate settings, initiate actions, and control workflows—without needing to understand the underlying code.
- Brand and Product Experience: The quality and clarity of your display directly influence how end-users perceive your product. A professional interface communicates trust, modernity, and attention to detail.
What makes a display attractive?
An attractive display is one that, beyond looking good, performs well under real-world conditions while providing a seamless user experience. Here’s what contributes to making a display both appealing and effective:- High Readability: Clear text and sharp visuals under various lighting conditions, including sunlight-readable brightness and wide viewing angles.
- Responsive Touch Interface: Smooth interaction with capacitive or resistive touch technology that accurately tracks user input without lag or calibration issues.
- Intuitive UI Design: A logical interface layout that minimizes the learning curve. Buttons, menus, and icons should be where users expect them—simple, functional, and clean.
- Consistent Visual Language: Use a coherent color palette, readable typography, and uniform element sizing. These details enhance professionalism and brand recognition.
- Feedback and Transitions: Visual cues like button animations or loading indicators confirm that the system has registered an action, boosting user confidence.
- Hardware Build Quality: Crisp resolution, no flicker, uniform backlighting, and a durable front panel, all contribute to long-term satisfaction and usability.
What should you define before building a display?
Before learning how to make a display, establish the technical requirements your project must meet. A clear specification helps prevent compatibility issues, unnecessary expenses, and costly design changes during development. Start by defining these essential requirements:- Application and environment: Determine whether the display will operate indoors, outdoors, or in demanding industrial conditions. Temperature, humidity, vibration, and ambient lighting can influence component selection.
- Screen size and resolution: Consider the amount of information users need to view and the available installation space. Higher resolutions provide more detail but may increase processing and power requirements.
- User interaction: Decide whether your application requires touch input, physical buttons, or information display only. Capacitive and resistive touch technologies suit different operating environments.
- Hardware compatibility: Identify the available communication interfaces, processing capabilities, and memory resources of your host system.
- Power requirements: Establish the operating voltage, current consumption, and power limitations, especially for portable or battery-powered devices.
- Budget and production scale: Consider component costs, development effort, maintenance, and long-term availability when planning prototypes or commercial products.
Should you build a custom display or buy a complete intelligent display solution?
When deciding how to make a display, one important consideration is whether to develop the display system from individual components or integrate a ready-to-use intelligent display module. Building a custom display system provides greater control over hardware architecture, firmware, and interface design. This approach can be appropriate when your application requires specialized functionality, unique mechanical dimensions, or tight integration with proprietary electronics. However, custom development also introduces additional responsibilities. Engineers may need to implement display drivers, manage graphics rendering, configure communication protocols, and validate hardware compatibility. Using an intelligent display module simplifies many of these tasks by combining the display panel with integrated control electronics and supported development tools. For example, Proculus UART TFT LCD modules allow developers to create graphical interfaces using UnicView Studio and exchange commands with a host microcontroller through serial communication. This approach reduces the need to develop a graphics system from scratch. To choose between these approaches, evaluate your project’s customization requirements, development resources, expected production volume, and deployment schedule. A custom solution may offer greater architectural flexibility, while an intelligent display module can be a practical choice when faster integration and reduced development complexity are priorities. Understand better in the infographic bellow: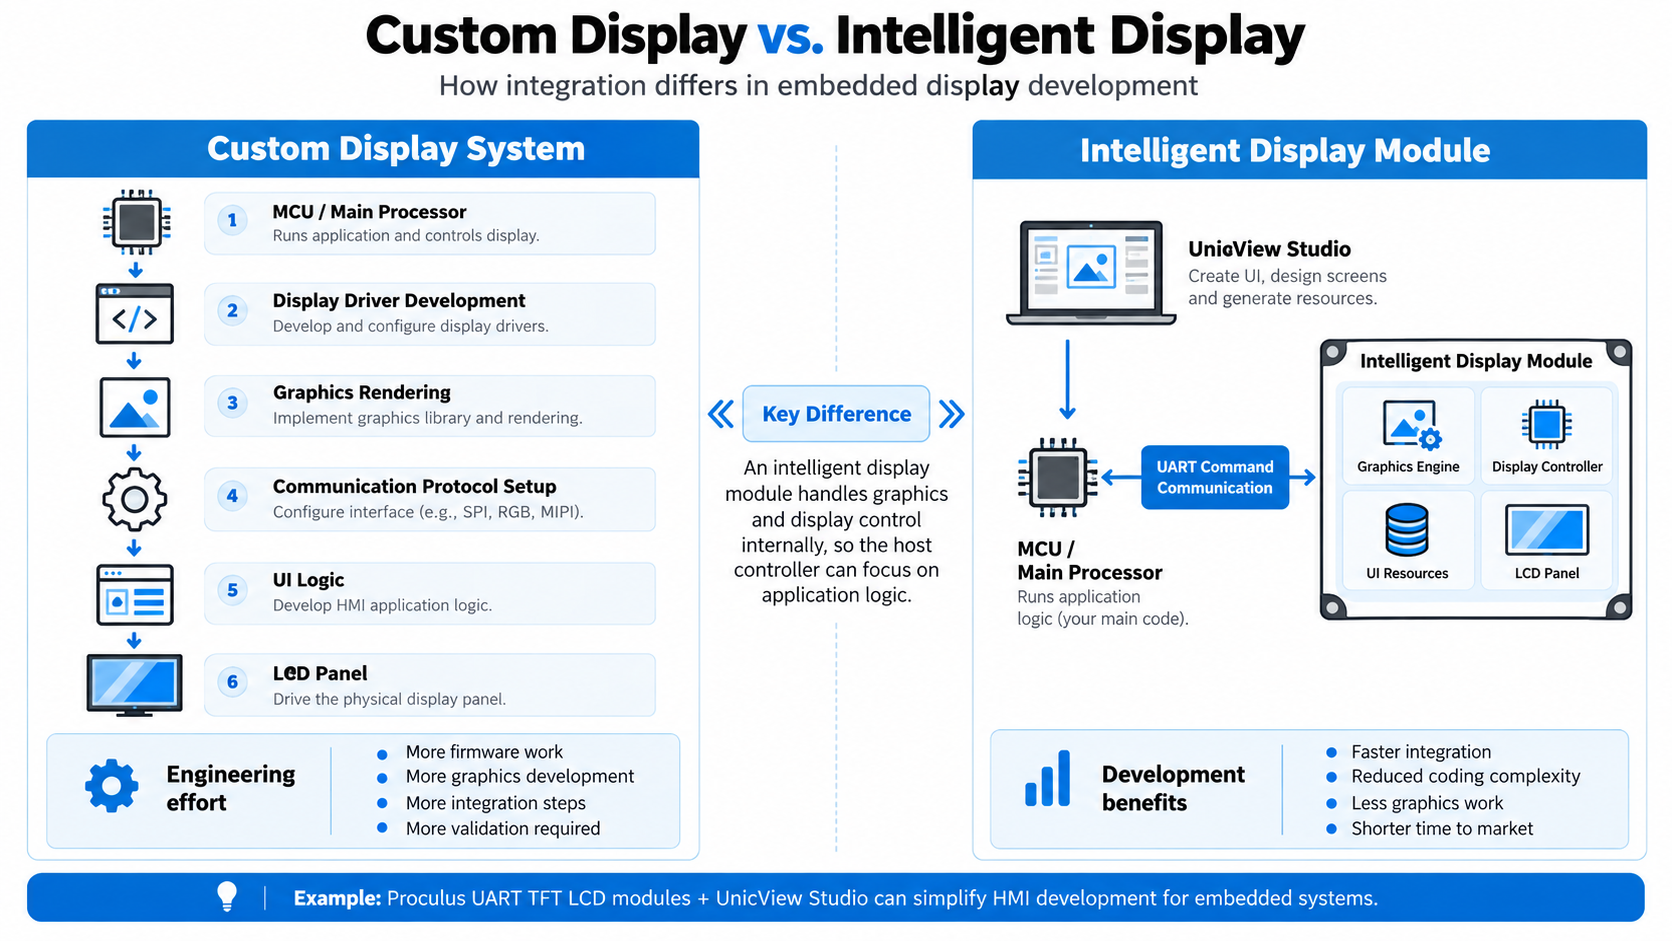
How do you choose the right display hardware?
Selecting display hardware requires balancing visual performance, communication capabilities, environmental durability, and overall system requirements. The best option depends on what the display needs to show, how users interact with it, and which hardware platform controls the application. Consider the following factors:- Display technology: TFT LCDs are suitable for many embedded graphical interfaces, while OLED displays offer high contrast and e-paper displays are useful for low-power applications with infrequent updates.
- Communication interface: UART modules simplify communication with microcontrollers. SPI and I2C are common in compact embedded designs, while HDMI supports video output from compatible computing platforms.
- Brightness and viewing angles: Choose specifications that maintain readability under your application’s lighting conditions and typical viewing positions.
- Touch functionality: Capacitive touch supports familiar gesture-based interaction, while resistive touch can be useful in applications requiring pressure-based input.
- Processing capabilities: Simple control interfaces may work efficiently with intelligent UART displays, while more demanding applications may benefit from Android-based modules or external processors.
- Mechanical compatibility: Check dimensions, mounting options, connector placement, and enclosure requirements before finalizing your selection.
- Development support: Prioritize hardware with accessible documentation, compatible software tools, and technical support to simplify integration and troubleshooting.
Frequently Asked Questions about How to Make a Display
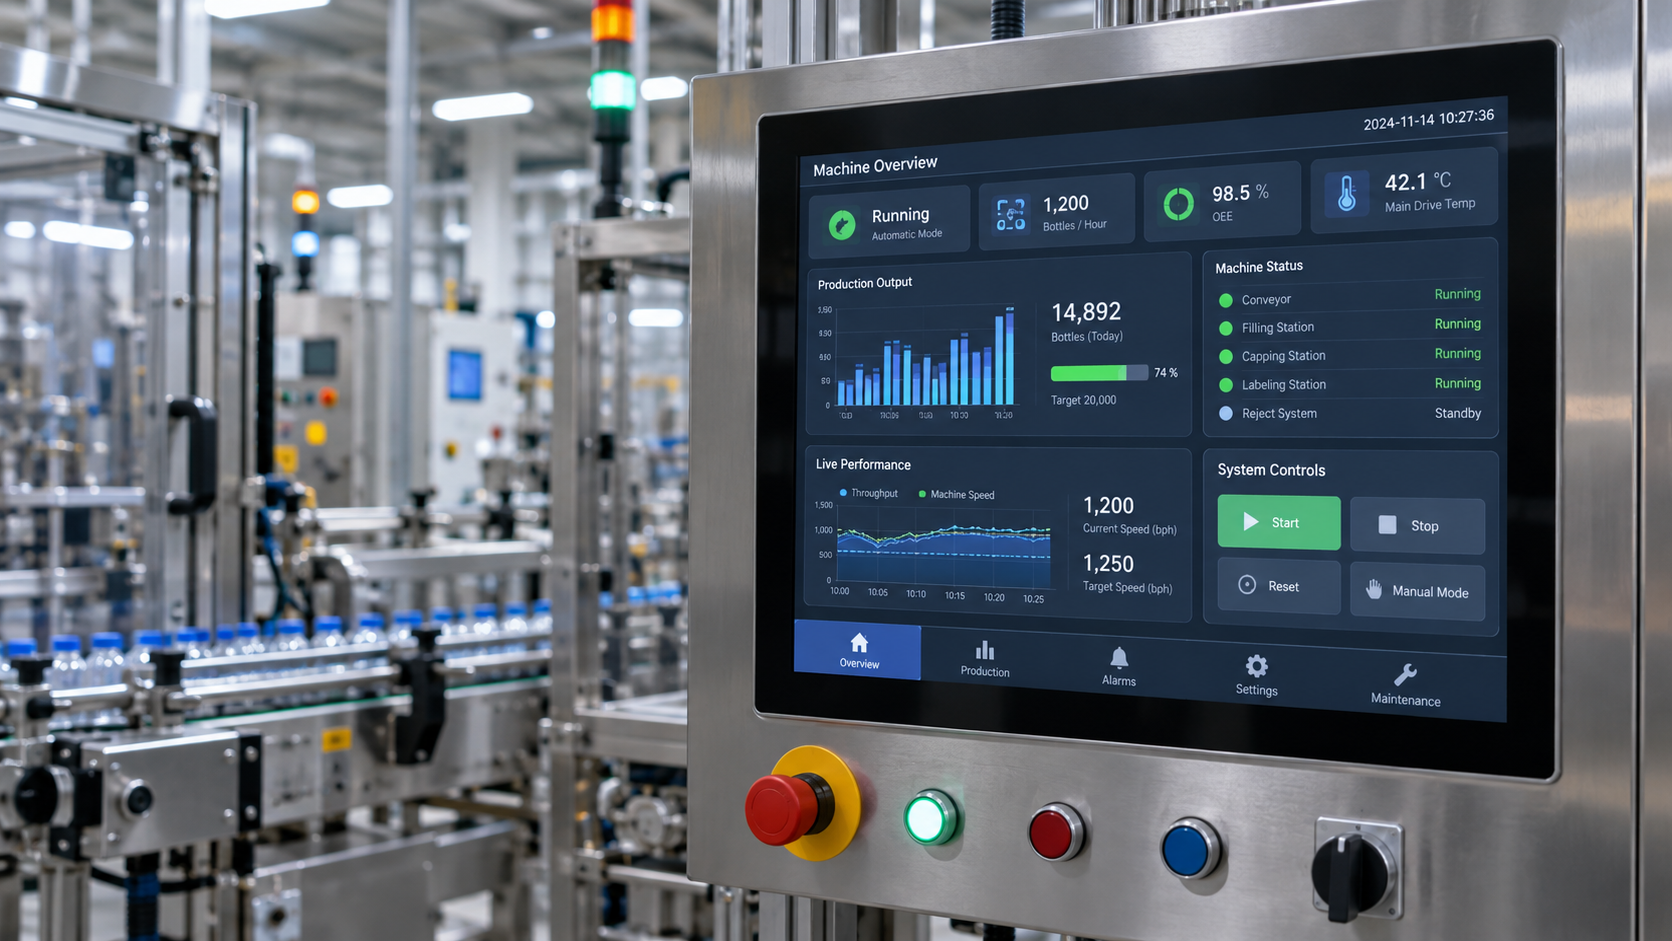 Still have questions about building a display? Here are short, direct answers to common questions about hardware selection, programming, and development costs:
What hardware do I need to build an intelligent display?
You typically need a display module, a compatible microcontroller or processor, a regulated power supply, and the necessary communication cables. Depending on the module, you may also need a touch panel, display controller, and supporting interface components.Can I make a display without programming?
You can design graphical interfaces with minimal coding by using intelligent display modules and visual development tools such as Proculus UnicView Studio. However, connecting the display to your application may still require programming the host controller to exchange commands and data.How much does it cost to make a display?
The cost depends on screen size, resolution, display technology, touch functionality, processing requirements, and production volume. Ready-to-use intelligent display modules can help reduce development expenses by minimizing custom hardware design and graphics programming.How long does it take to develop a custom display?
Development time varies depending on hardware complexity, interface requirements, and testing needs. A basic prototype using a supported intelligent display module may take significantly less time than a fully customized display system requiring dedicated electronics and firmware.What is the easiest display to use with a microcontroller?
An intelligent UART TFT LCD module is often a practical option because it communicates through serial commands and can handle graphical rendering internally. This allows the microcontroller to focus on application logic rather than managing individual display pixels.What is the difference between a regular LCD and an intelligent LCD?
A regular LCD panel generally requires external display control circuitry and software to generate graphics. An intelligent LCD module integrates additional control electronics and may include interface development tools, simplifying communication and graphical interface implementation.Bring your display to life with Proculus Technologies
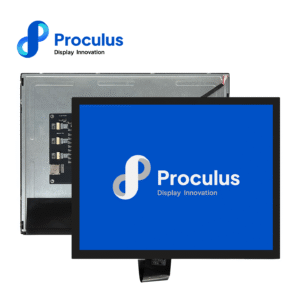
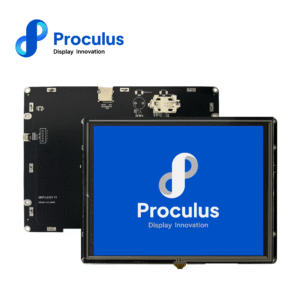
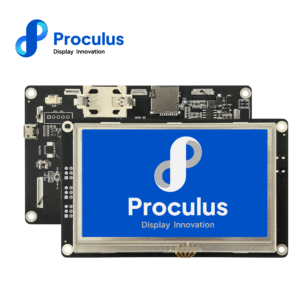
Proculus Technologies empowers developers with ready-to-use smart display modules that dramatically reduce time-to-market and development complexity. Our UART TFT LCD modules are engineered for seamless integration, communicating through a simple, five-command protocol that even beginners can master. Paired with UnicView Studio, our displays allow you to design responsive, professional user interfaces, without writing a single line of graphics code. Whether you’re designing a product prototype or mass-producing industrial equipment, Proculus offers the performance, stability, and support engineers rely on.Explore our UART TFT LCD Modules and discover how simple embedded display development can be!
Conclusion
Making a display is both a technical challenge and a creative opportunity. With the right components and workflow, your display becomes a powerful medium for interaction, one that’s intuitive, efficient, and tailored to your specific use case. Proculus Technologies streamlines every stage of this journey. From modular UART LCDs to intelligent development tools, we equip engineers and innovators with the resources they need to build robust, elegant HMI solutions faster than ever. Ready to bring your vision to life? Let’s build it together with Proculus!

PHP Code Snippets Powered By : XYZScripts.com