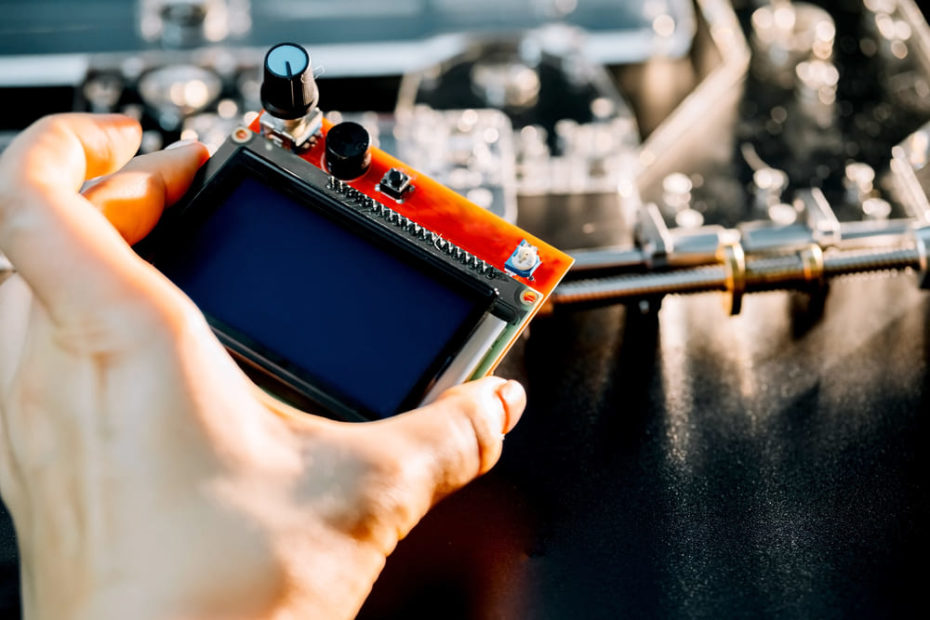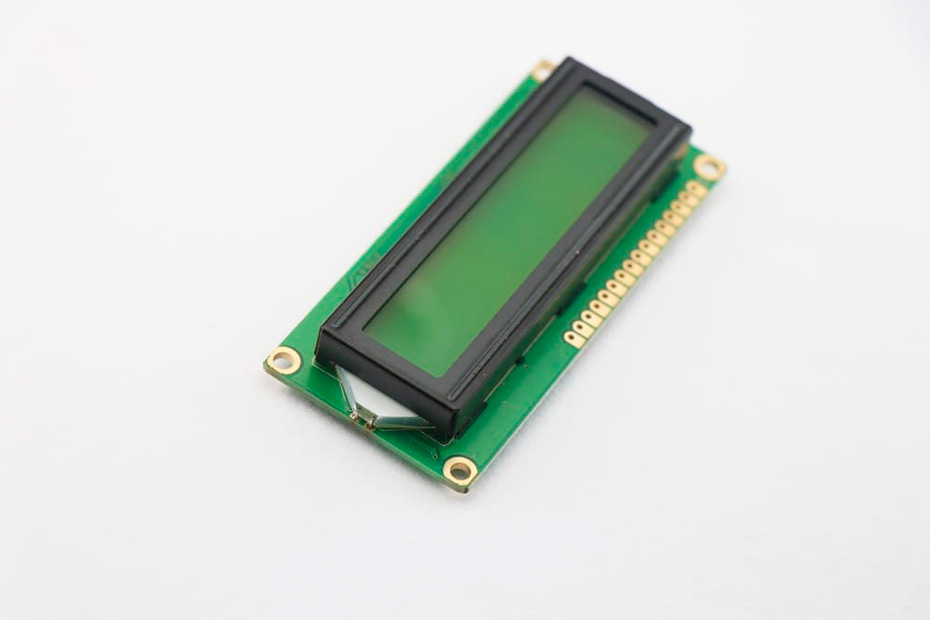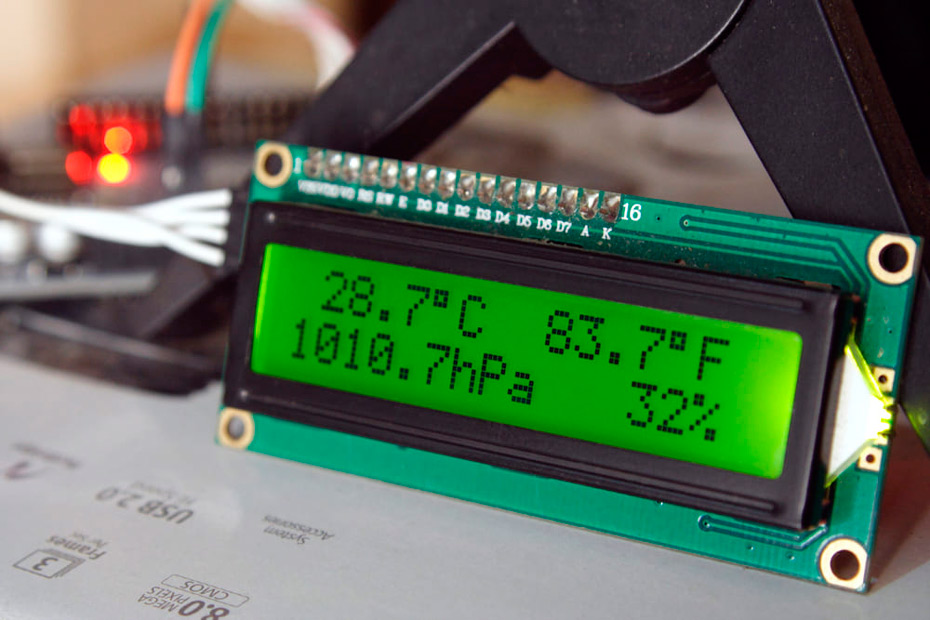
The Arduino LCD display projects are well known in the programming world due to the low cost involved and the diversity of applications.
Since the release of Arduino, its use has become popular because it offers the possibility of developing complex projects with greater simplicity.
Before him, to bring an idea to life and arrive at a system, it was necessary to assemble component by component, module by module.
Today, among the various projects with Arduino used in the market, those that involve integration with LCD displays for the display of information stand out.
Want to understand more about Arduino projects with lcd module products and find out how to choose the most suitable one for you? Keep reading!
Before explaining what an LCD display with Arduino is, it is important to clarify what can be considered a display.
Displays are devices used to present information obtained by a circuit through a graphical interface.
Depending on the model, the display can also allow user-machine interaction through touch.
In this sense, the displays intended for use with Arduino are those that allow the visualization of data processed by a particular device.
In general, they are often used in projects where it is necessary to read information obtained by a sensor or system.
There is also the possibility of using OLED and 7-segment screens with the Arduino.
However, the LCD display model (both lcd android and uart display)stands out for having advantages such as:
Low energy consumption;
Varge number of symbols and characters;
Variety of sizes available;
Low price and excellent value for money.
In addition, the technology developed using liquid crystal (Liquid Crystal Display) offers easy implementation in different types of projects.
The LCD display can be connected to the Arduino using a parallel bus, when there are available ports, or a serial bus, using the I2C module.
In the case of the most used LCD displays, such as 16X2 or 20×4, there are two ways of connection available.
The first one is the traditional one, requiring wired connection of all display terminals with those of the Arduino.
Because of this feature, the wire-to-wire connection may suffer from poor contact problems.
The second type of LCD display connection with Arduino, mentioned above, is the I2C interface.
In this case, the I2C module needs to be connected to the display to have all its communication reduced to four wires: two for power and two for signal.
In addition to this advantage, this type of connection also reduces the number of ports used in the Arduino, being only two:
SCL: pin A5
SDA: A4 pin
It is also necessary to connect the GND of the I2C interface to the GND of the device.

The LCD Display is used in projects with Arduino to enable interaction with digital devices through graphic elements.
From the combination of these two mechanisms, it is possible to accurately visualize the information processed by the system.
This is because LCD displays make it easier to create a Graphical User Interface (GUI), or Human Machine Interface (HMI), on Arduinos.
In general, the LCD modules are specified by their graphical communication capability.
In other words, by the number of lines (1, 2 and 4) and number of characters per line (8, 12, 16, 20, 24 and 40).
Therefore, it is possible to find LCD devices with a simpler interface, as well as more robust options and with several built-in features.
Regardless of the model, the objective is always to make it simpler to use a system and to visualize its information by the user.
Read also: Proculus displays with PIC microcontroller
There are several projects available online for using LCD display with Arduino.
Prototyping can include Arduino models such as the Uno, Nano or Mega, in addition to being able to involve materials such as:
16×2 LCD display with blue backlight;
1 Kohm resistor;
Male-to-male Jumper cables;
220 ohm resistors;
The Protoboard;
25k potentiometer.
Mounting the LCD display on the breadboard must preserve a space for the jumper cables to be connected.
In order not to make a mistake in the numbering of the pinout, it is important to carefully observe the characteristics of each pin and their locations on the Arduino.
In the Arduino Uno schematic with LCD display, pin 1 (VSS) must be connected to GND, while pin 2 (VDD) is connected to 5V.
To adjust the display contrast, pin 3 (V0) is responsible.
However, it is important to place the 1K resistor so that the adjustments are performed gradually.
Thus, preventing the graphic elements from being erased or too saturated.
Pin 4 (RS) is connected to pin 12 of the Arduino Uno to be responsible for the signal selection register.
Meanwhile, pin 5 (R/W), connected to GND, demonstrates the read and write signal of the display, and pin 6 (E) serves to enable or disable the signal.
For this, it must be connected to pin 13 of the Arduino.
Pins 7 and 10 are dispensed with, as the Data Bus is set to 4 bits;
Among the rest of the pinout guidelines, we have:
pin 11 (DB4) connected to pin 7 (Arduino uno);
pin 12 (DB5) connected to pin 6 (Arduino uno);
pin 13 (DB6) connected to pin 5 (Arduino uno);
pin 14 (DB7) connected to pin 4 (Arduino uno).
In addition, pins 15 (LED+) and 16 (LED-) will be responsible for supplying power to the LEDs at the bottom of the display. It is possible to connect pin 15 using:
Using 2 resistors of 220 ohms in parallel;
Connecting the pin to 5V (removing the 1K resistor and adding a 25k potentiometer connected to 5V, GND and pin 3 of the LCD module);
Connecting the pin to 5V without potentiometer.
Pin 16 can be connected directly to GND.
With the proper connections, it's time to program the Arduino by connecting it to the computer and opening the official Arduino IDE in its updated version.
After these steps, just click on the tools tab, choose Arduino Uno, select “Port” and click on “New” to start a new Sketch.
As in many projects, the library used must be the Liquid Crystal, native to the Arduino IDE and quite advantageous for the use of LCD modules.
Through it, it is possible to enable functions such as text scrolling, screen blinking and writing words, for example.
Looking for a modern, low-cost, Arduino-compatible LCD development kit to create projects with a professional interface?
Meet the Proculus P.BOX Dev Kit!

With alphanumeric characters, the LCD display modules can present very attractive visual interfaces.
These devices also have very standard graphics and software built-in capabilities.
Thus, allowing the exchange between models and manufacturers without the need to change your application program.
Furthermore, despite being highly efficient, LCD technology is not new to the market, which lowers its cost in relation to other displays with similar benefits.
In everyday life, it is possible to find LCD displays on computers, TVs, GPS, smartphones, calculators and equipment.
Looking for smart display solutions to run your projects?
Meet Proculus and our china custom lcd display options!
Found in different physical dimensions and with varied specifications, the LCD display represents a great cost-benefit for projects with Arduino.
Did you like to know more about Arduino LCD display? Check out more content like this on our blog!
